App Services with Bicep & GitHub Actions, part 1: Provision & deploy
Following my previous post about blue-green deployment with Azure App Services and Terraform, I wanted to do the same thing using Bicep.
Starting from the same demo, I will break this in a series of two posts. This is the first one about how to provision the App Service in Bicep and deploy code to it, using GitHub Actions workflows.
The second post focuses on the deployment slots and blue-green deployment stuff.
GitHub repository !
As always all code displayed here can be found on my GitHub, with all the instructions in a README to run the demo by yourself.
The demo consists in an ASP.NET web application, Bicep code and GitHub Actions workflows.
As the repository contains the materials of both posts of the series, I have simplified the code samples in this post to focus on provisioning the App Service and pushing a package to it.
Creating the Azure resources with Bicep
Before deploying any code we need to create two resources:
- A Linux App Service Plan who represents the managed pool of machine(s) running our app
- An App Service which is the logical representation of our app, running in the plan
These two resources will live in the same resource group.
The App Service Plan
Here is the Bicep module for the App Service Plan:
1
2
3
4
5
6
7
8
9
10
11
12
13
14
15
16
17
18
19

param location string
param project string

resource plan 'Microsoft.Web/serverfarms@2022-03-01' = {
  name: 'asp-${project}'
  location: location

  kind: 'app,linux'

  properties: {
    reserved: true
  }

  sku: {
    name: 'S1' // We use Standard S1 as we'll need deployment slots later
  }
}

output planId string = plan.id // The resource id of the plan will be needed for the App Service
Note a few gotchas related to the use of a Linux plan: we must use
app,linuxfor thekindand set thereservedproperty totrue.
I use at least two parameters in all modules of my projects: project contains a suffix used in the naming of all resources (following the guidelines for the prefixes), and location contains the Azure region I want to use.
The App Service
For the App Service, the code is simple but there is another gotcha with the application stack, i.e. which platform/language our app will be built with, .NET 6 in our case but it could be Python, Node.Js, Go…
As our plan runs on Linux we have to set the LinuxFxVersion property for this, the list of possible values can be retrieved from the CLI using the command az webapp list-runtimes --os linux.
The command returns values like
DOTNETCORE:6.0, these must be replaced by pipes like thisDOTNETCORE|6.0, otherwise it won’t work.
Apart from that the code is simple, here is the full resource:
1
2
3
4
5
6
7
8
9
10
11
12
13
14
15
16
17
18
19
20
21

param location string
param project string

param appName string // this parameter contains a randomized string to make sure our app name is unique
param planId string

resource app 'Microsoft.Web/sites@2022-03-01' = {
  name: 'app-${project}-${appName}'
  location: location

  properties: {
    serverFarmId: planId // This is were we use the resource id of the plan from the previous module
    reserved: true

    siteConfig: {
      linuxFxVersion: 'DOTNETCORE|6.0' // Here is the application stack gotcha
    }
  }
}

output appServiceName string = app.name // The name of the App Service is returned for later use in the workflows
The Bicep code is now ready so we will see how to run it using GitHub Actions.
The GitHub Actions workflows
In this section we are going to build a single workflow in GitHub Actions to provision our App Service and deploy code to it.
First, we must establish a link between our Azure environment and our GitHub account.
Grant GitHub Actions access to our Azure subscription
We are going to use the Azure Login action in our workflow with a service principal. The set-up is explained in the docs, follow the instructions here to create the service principal and set the AZURE_CREDENTIALS secret.
While we are at setting secrets, add a secret AZURE_SUBSCRIPTION with your subscription’s id and AZURE_REGION with the Azure region you want to deploy your resources to.
A first job for provisioning the resources
Let’s create a workflow to run our Bicep code: the first notable step authenticates to Azure using the azure/login action and the secrets we have just created.
The next step runs the Bicep template with the azure/arm-deploy action. We specify the scope, template file, parameters and the workflow is ready:
1
2
3
4
5
6
7
8
9
10
11
12
13
14
15
16
17
18
19
20
21
22
23

name: Provision Azure resources
on:
  workflow_dispatch:
jobs:
  provision:
    runs-on: ubuntu-latest
    steps:
      - uses: actions/checkout@v3

      - name: Azure Login
        uses: azure/login@v1
        with:
          creds: ${{ secrets.AZURE_CREDENTIALS }}

      - name: Bicep deploy
        uses: azure/arm-deploy@v1
        with:
          scope: subscription
          subscriptionId: ${{ secrets.AZURE_SUBSCRIPTION }}
          region: ${{ secrets.AZURE_REGION }}
          template: ./infra/main.bicep
          parameters: project=bicep-aps-demo location=${{ secrets.AZURE_REGION }}
          deploymentName: apsBicepDemo
The workflow_dispatch trigger allows us to manually run the workflow from the GitHub UI:  You can also use
 on: push to trigger your workflow when a change is pushed Once the workflow has finished the resources will be created and the website look like this: 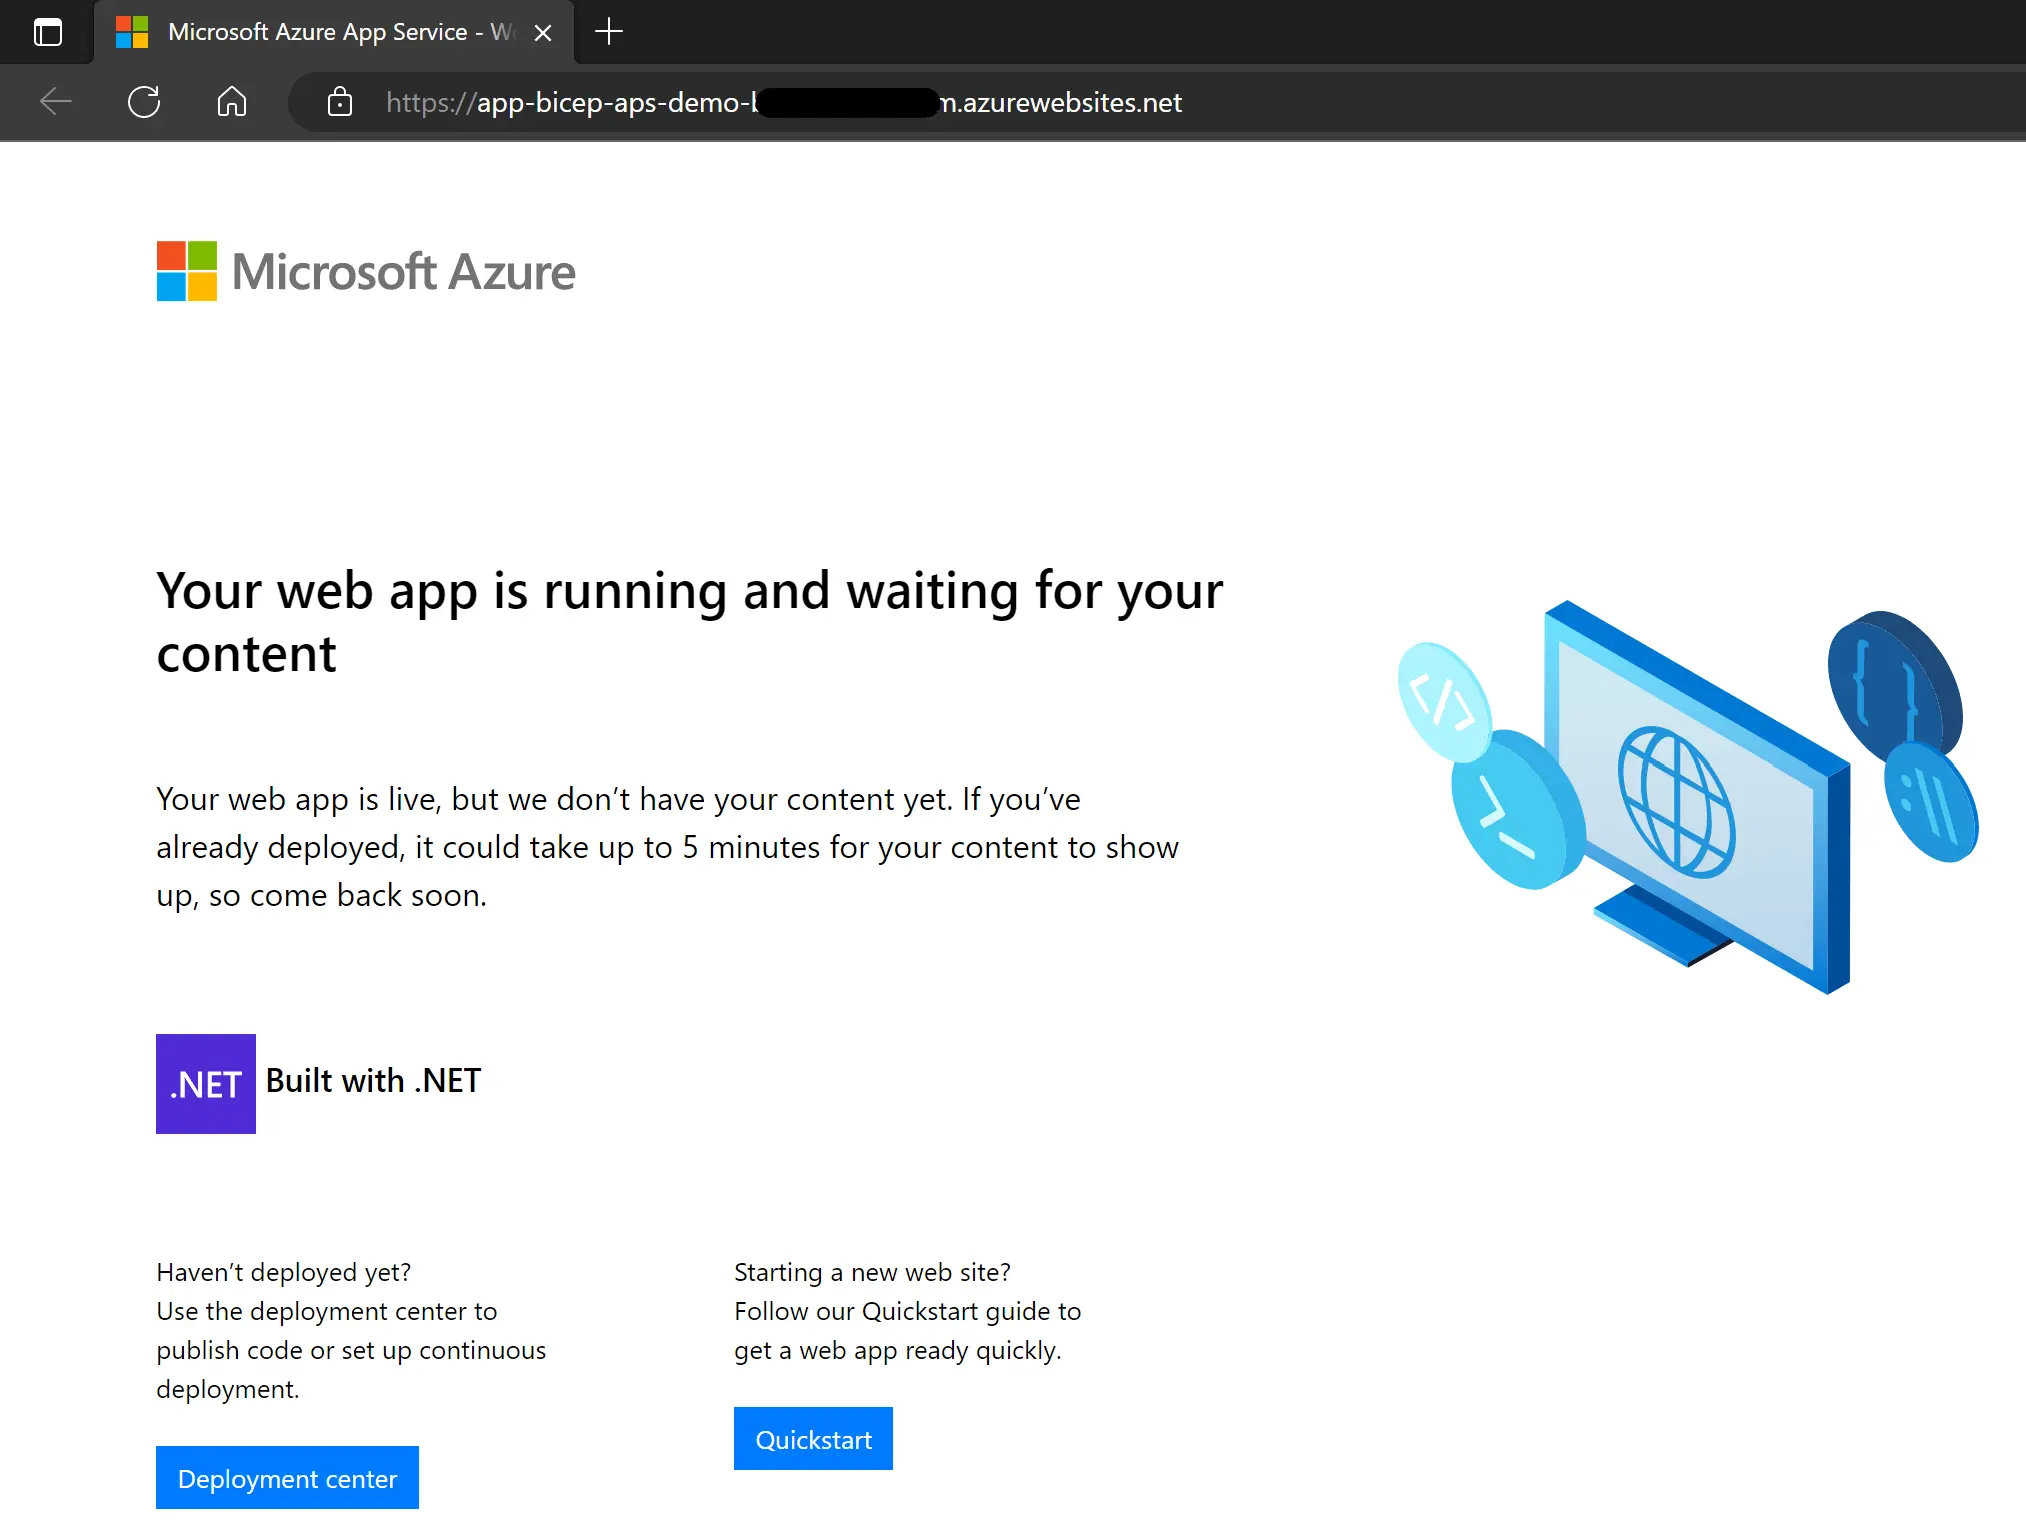
For now it’s an empty shell waiting for our content, we can notice the Build with .NET line, it confirms that the application stack has been properly set, as we can also see in the Azure portal: 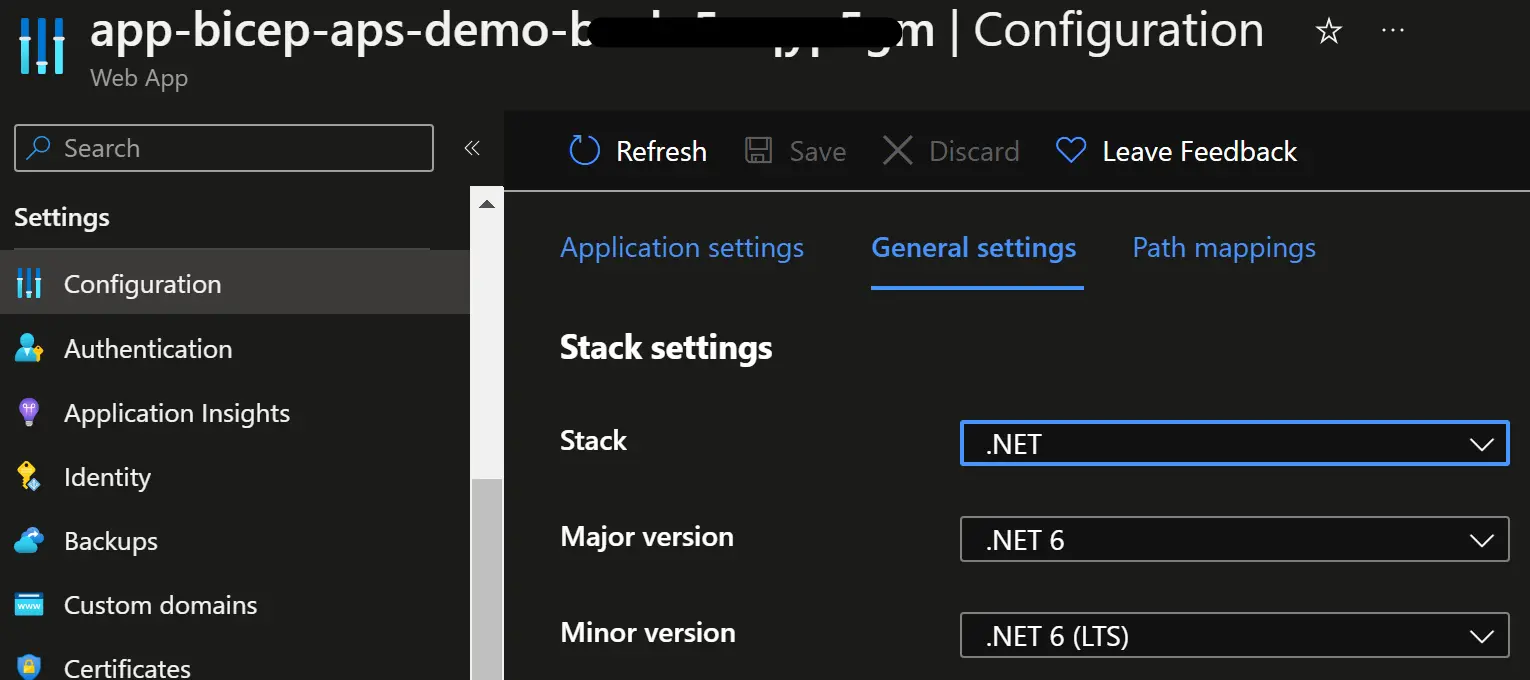
Time for code deployment !
To push a package to our new web app we are going to add a second job to our workflow with the following steps/actions:
-
dotnet publishto restore, build and package the code in a single command -
azure/loginlike in the provision job to authenticate to Azure -
azure/webapps-deployto push the package to the App Service
Let’s focus on the latest step, the most important but yet simple:
1
2
3
4
5

- name: Deploy to App Service
  uses: azure/webapps-deploy@v2
  with:
    app-name: ${{ needs.provision.outputs.appServiceName }}
    package: ./src/ApsSlotsDemo.App/publish/ApsSlotsDemo.App
A few words about authentication: there are several ways to authenticate for App Service deployment (check the official documentation). I have chosen to use a service principal, basically the same identity is used for provisioning the resources and deploying the code.
That’s why there is no credential parameter, authentication is handled at the previous step (azure/login).
Notice also that we need to pass the name of the App Service to deploy to. That’s because the service principal authentication doesn’t target a specific App Service, unlike publish profiles.
As the name of the App Service is generated during the provisioning job, we need to pass it from one job to another. To do this we have to set an id to the Bicep deploy step add an output to the provision job like this:
1
2

    outputs:
      appServiceName: ${{ steps.bicep-deploy.outputs.appServiceName }}
Then in the deploy job, we add the needs: provision line at the job level to indicate that the provision must complete first, and to allow the use of its outputs.
Overall the complete deploy job looks like this:
1
2
3
4
5
6
7
8
9
10
11
12
13
14
15
16
17
18
19
20
21
22
23
24

  deploy:
    runs-on: ubuntu-latest
    needs: provision
    defaults:
      run:
        working-directory: src/ApsSlotsDemo.App
    steps:
      - uses: actions/checkout@v3
        with:
          ref: blue

      - name: dotnet publish
        run: dotnet publish -c Release -o publish/ApsSlotsDemo.App

      - name: Azure Login
        uses: azure/login@v1
        with:
          creds: ${{ secrets.AZURE_CREDENTIALS }}

      - name: Deploy to App Service
        uses: azure/webapps-deploy@v2
        with:
          app-name: ${{ needs.provision.outputs.appServiceName }}
          package: ./src/ApsSlotsDemo.App/publish/ApsSlotsDemo.App
The whole workflow can be found in the GitHub repo.
Finally if you run this workflow and browse the app again you should see the deployed content: 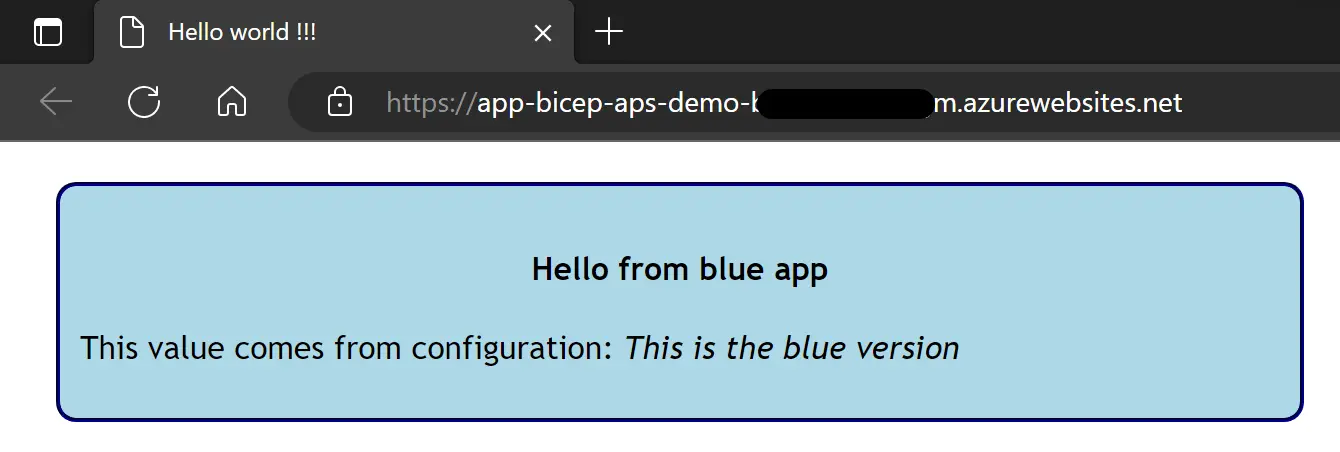 Wondering what this blue app thing is about ? This is the topic of the next post
Wrapping-up
This was the first step of of two-posts series, so far we have created an App Service and deployed code to it, using IaC and GitHub Actions, which is pretty good for a first step.
In the next post we will add blue-green deployment on top of that with App Service deployment slots, it might sound like a simple step but it’s not as trivial.
In the meantime I strongly encourage you to continue to learn GitHub Actions by yourself, don’t be afraid to try and break things. We have barely scratch its surface in this post, so go read the docs, add workflows to your projects, try to optimize them, split them into several blocks, etc.
I hope you have enjoyed this post, as always don’t hesitate to reach out, and happy learning 🤓